
As I mentioned in 2023 in Models I won a kit. It would be fair to say that Andreas who had kindly supplied it was quite keen that I should be building it as soon as possible. There were several small problems with that, I have a stash of about 60 kits which contains gifts that the givers also wish were built sooner rather than later. Add to that my rather impulsive build whats hot and new and the lag grows. I wanted to do the kit full justice, I owed Andreas that. This would mean a proper diorama, and for that I have to be in the right mindset.
I had been discussing diorama builds with Adam, a very talented builder. I had been praising him for his whimsical style, and I got the impression he was a bit unhappy with that description. We had a discussion about what I meant, and then a broader chat about creating dioramas. Thanks to this chat I was able to identify why I wasn’t reaching where I wanted to be. It was as simple as losing interest and focus. I would build the focal point, then paint the figures, and then work on the scenery. Trouble was I would be thinking of the next kit long before finishing the figures, and would just rush to the end. This meant I never truly wrote the story I was trying to tell.
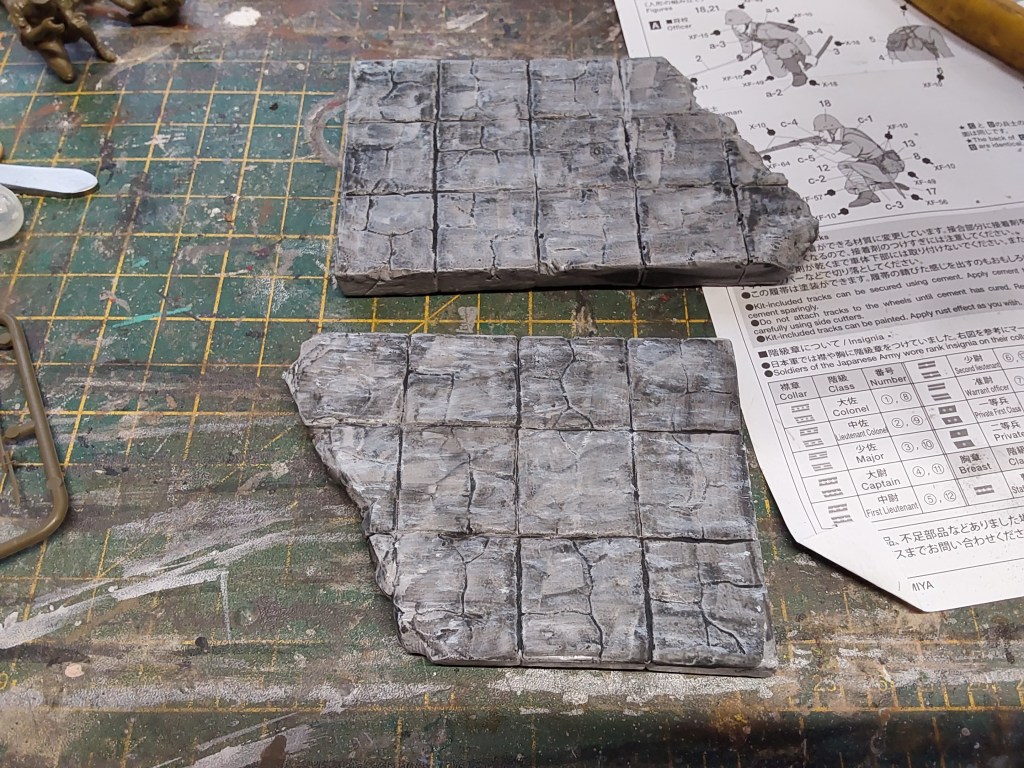
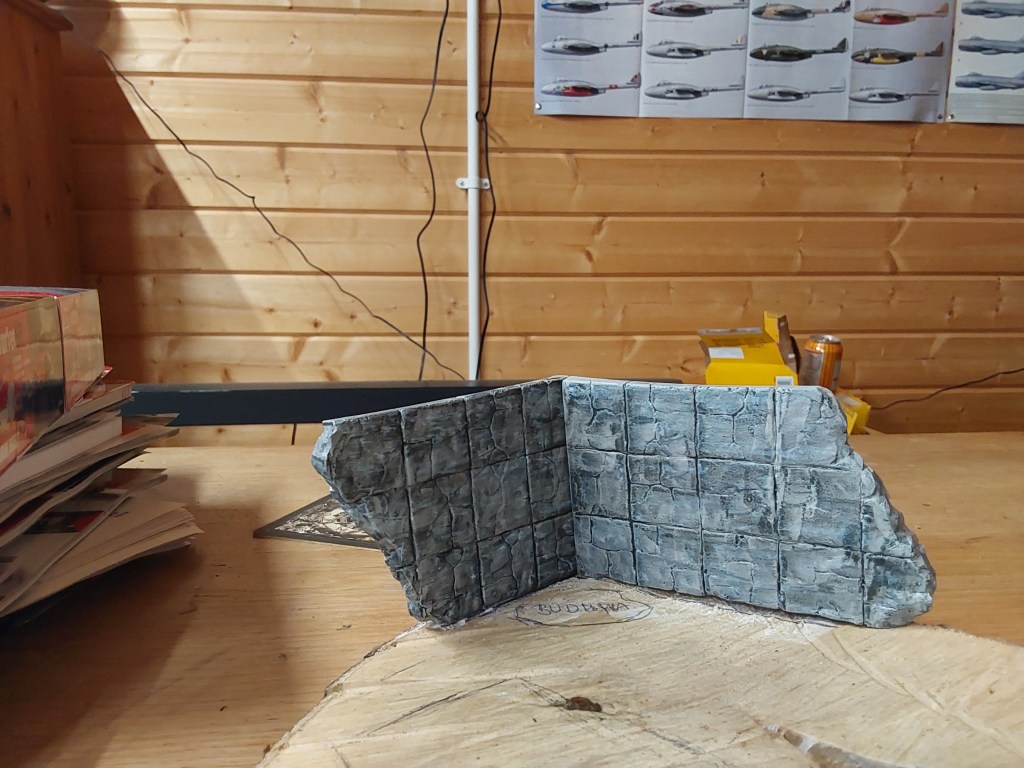
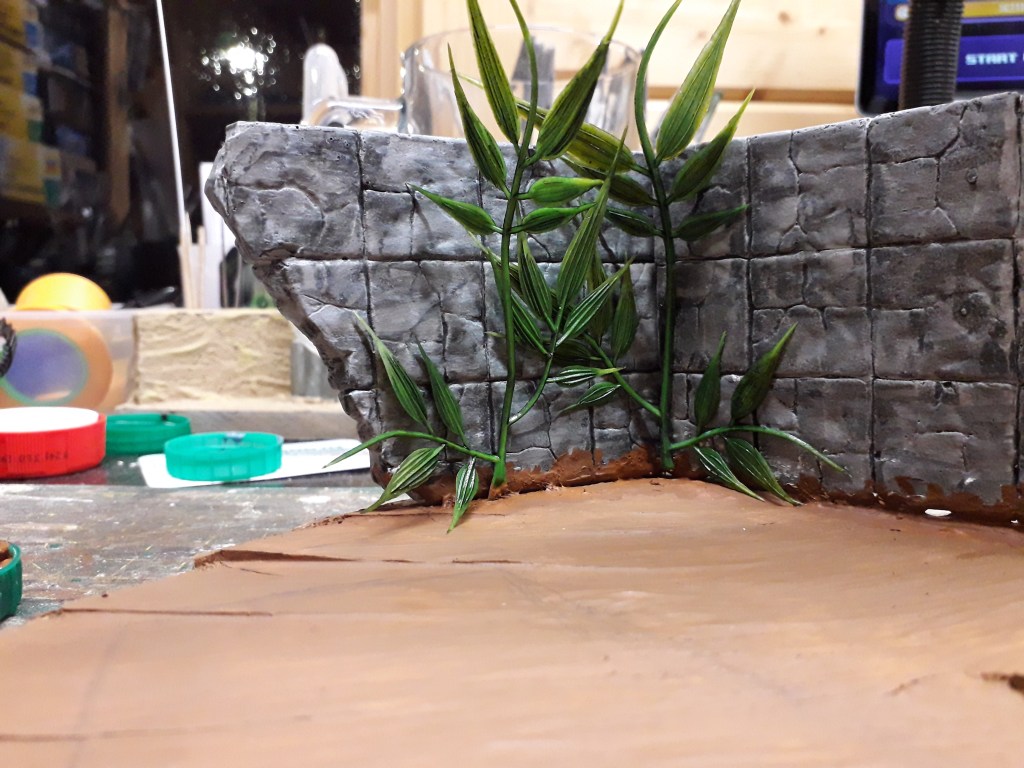
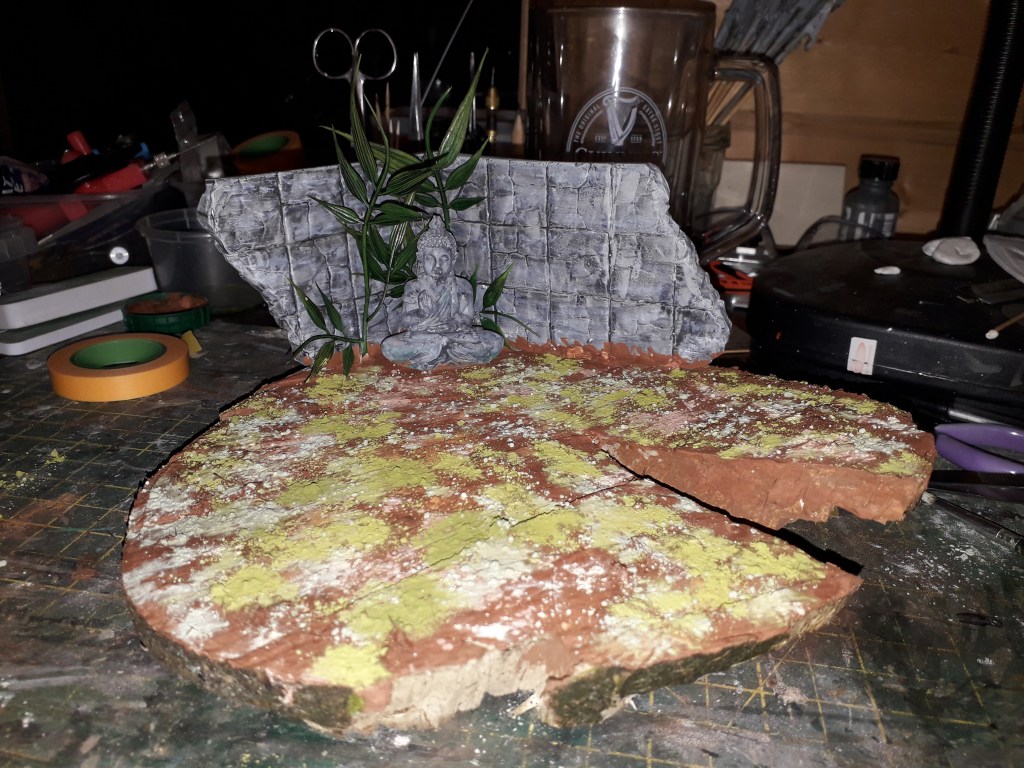
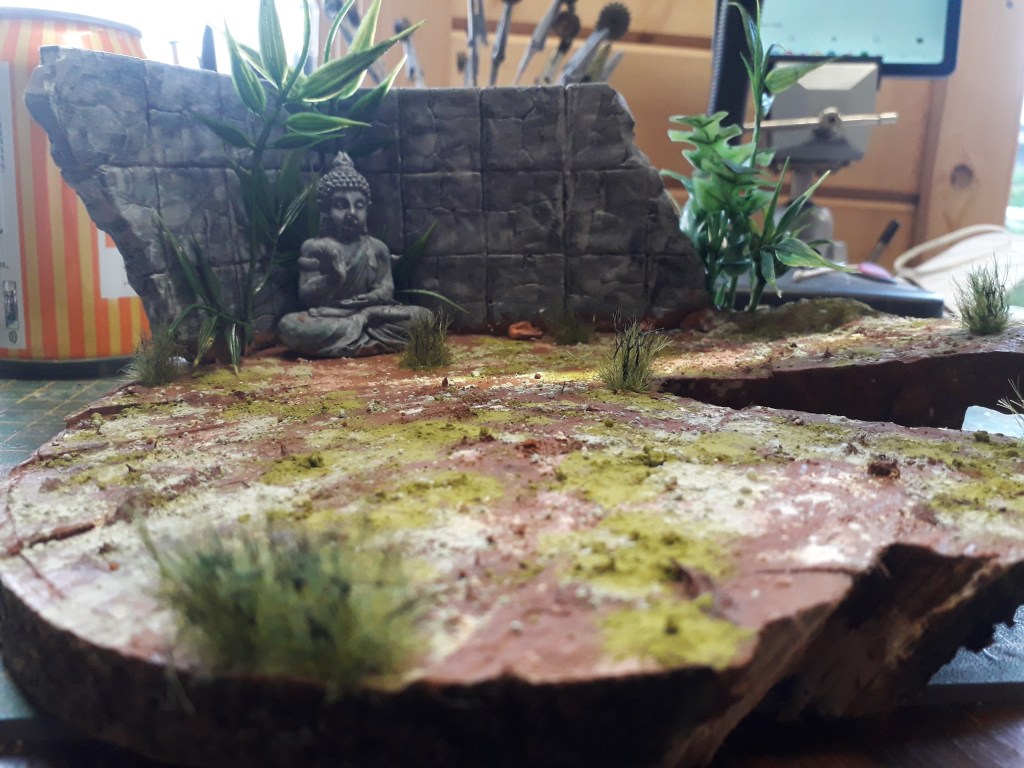
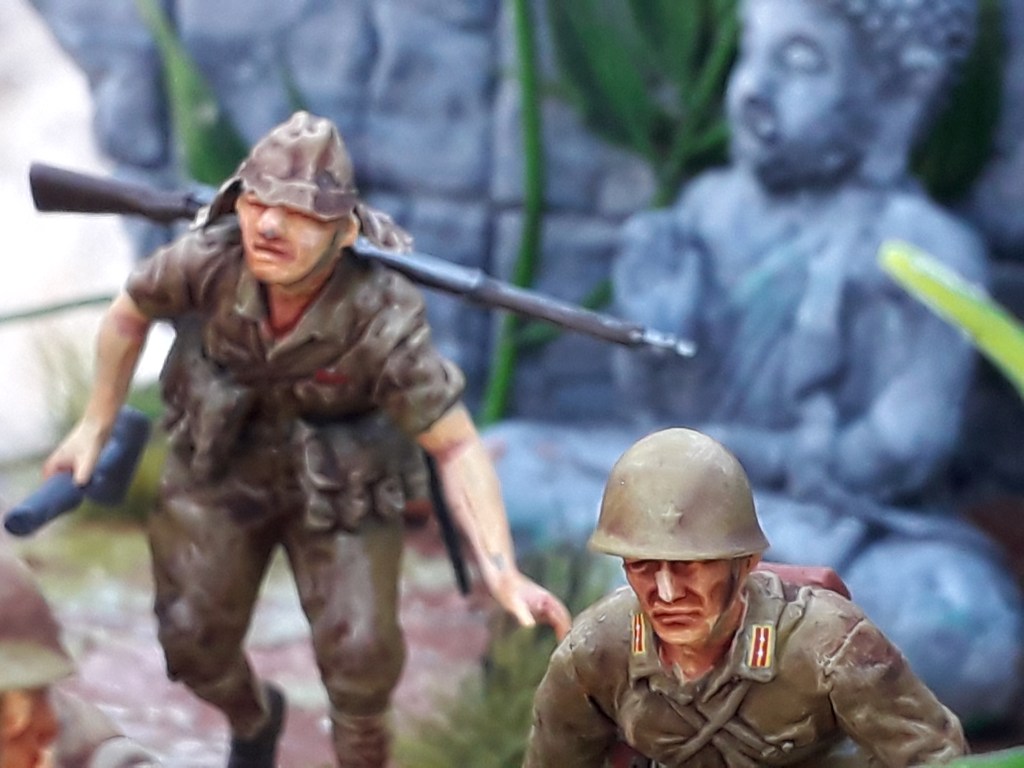
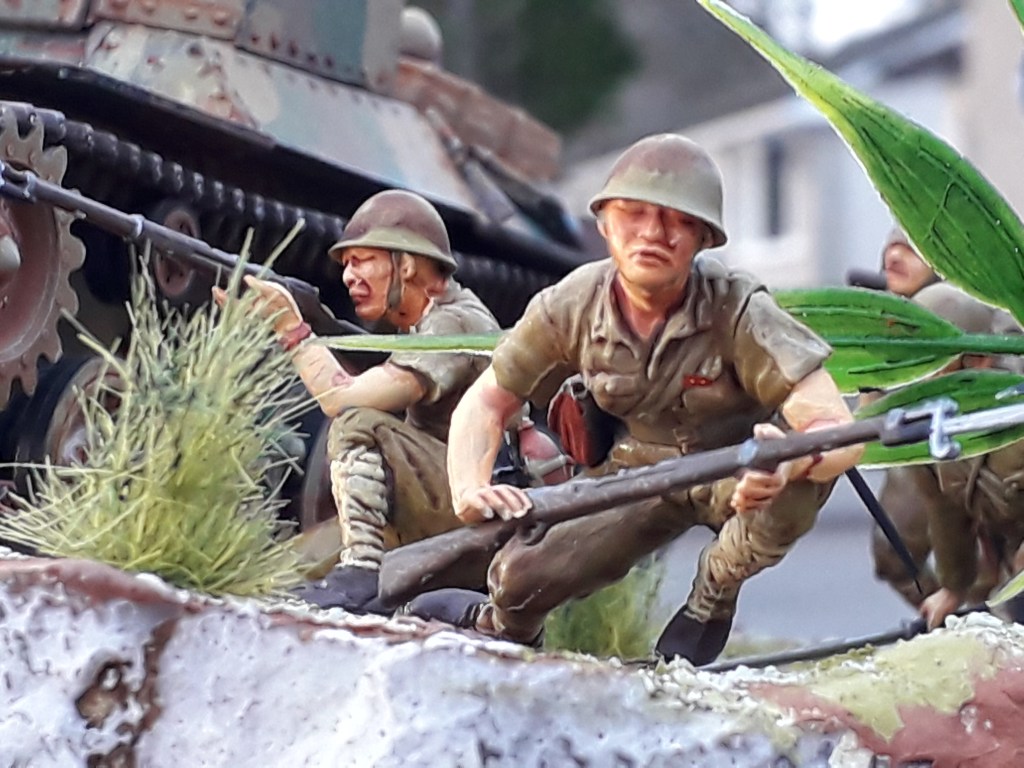
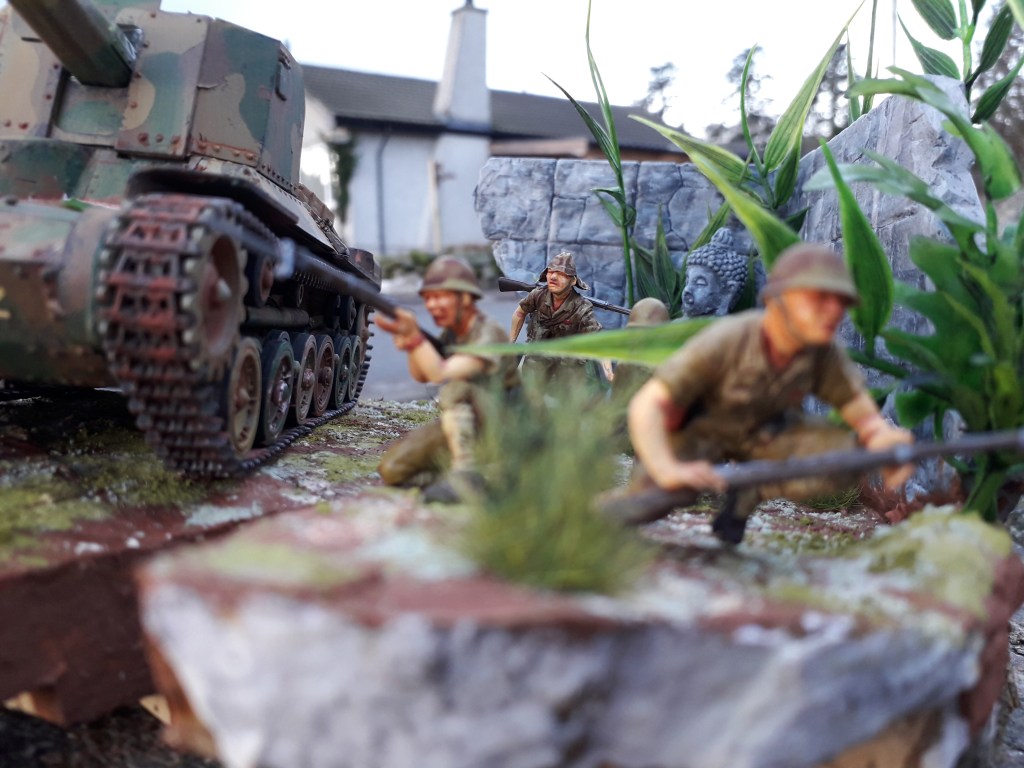
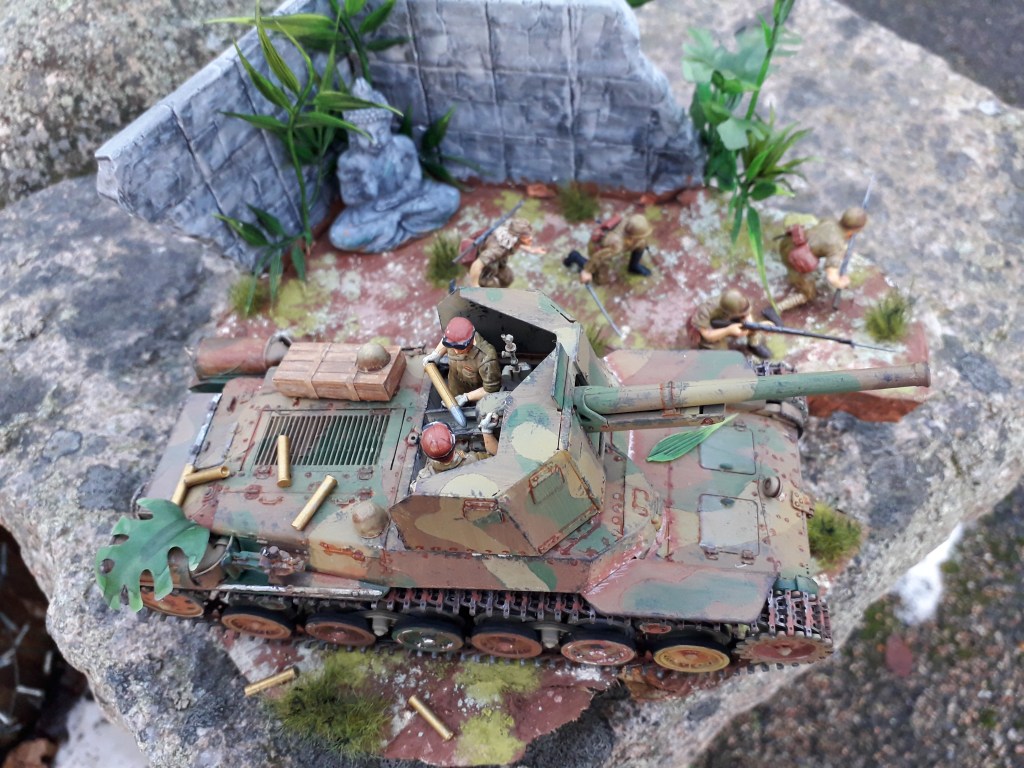
The answer seemed to be to reverse the process. So while I was working on a Nakajimi “Irving”I started work on the base for the Type 1. As mentioned before a friend has supplied me with some wood rounds. I had previously varnished them, and laid down some foam protector. I had painted some stone walls and a Burmese Buddha which were fixed to the base. This was painted with a mix of dark brown paint and earth pigments. I scattered green and lighter brown pigment and proudly showed this off on social media. Three friends pointed out it looked like a pizza, and a fourth that it was a pile of pizza vomit. It was fair comment. So I added some scrub and foliage. I knew though that once everything was in place the veggie pizza effect would be toned down.
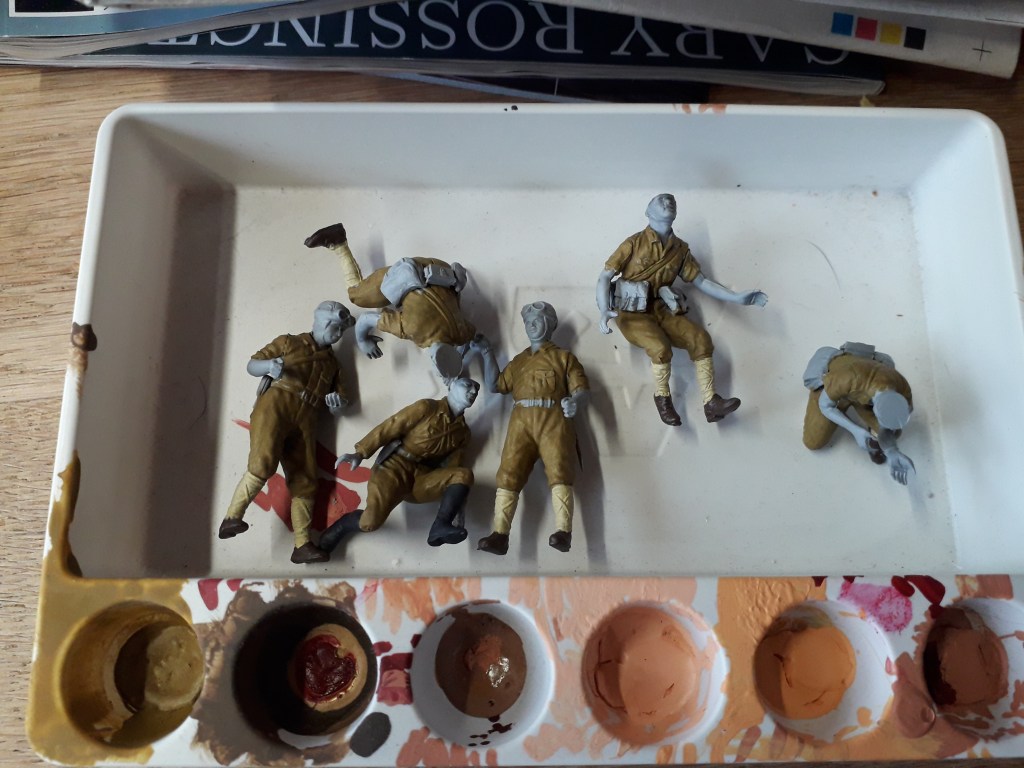
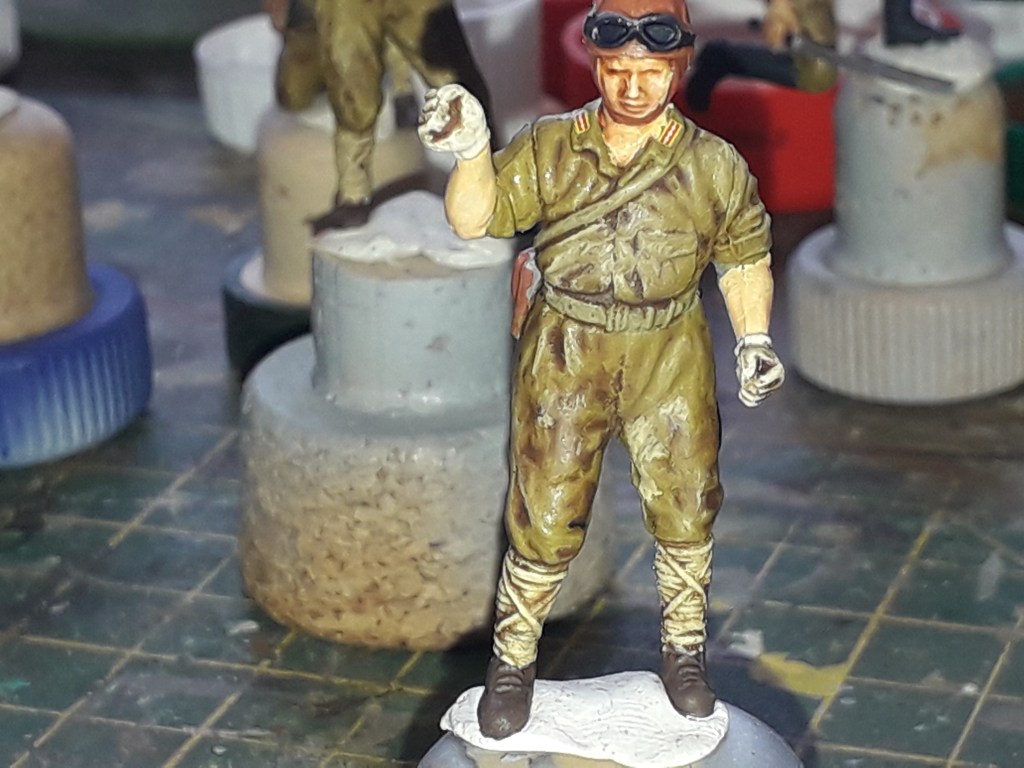
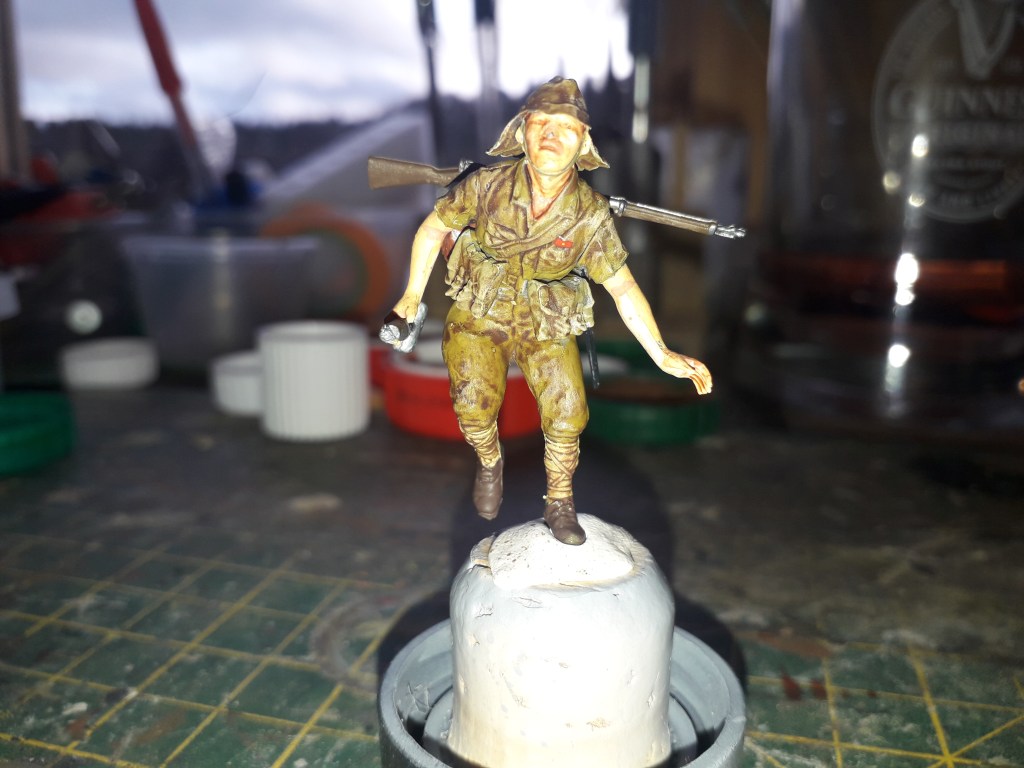
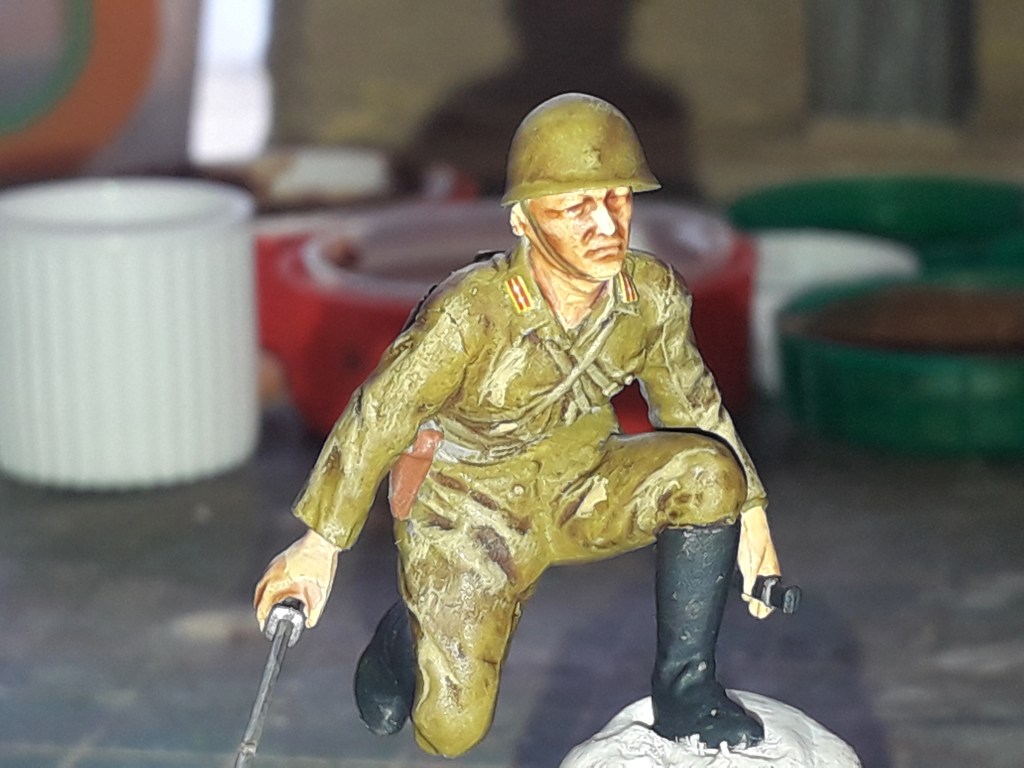
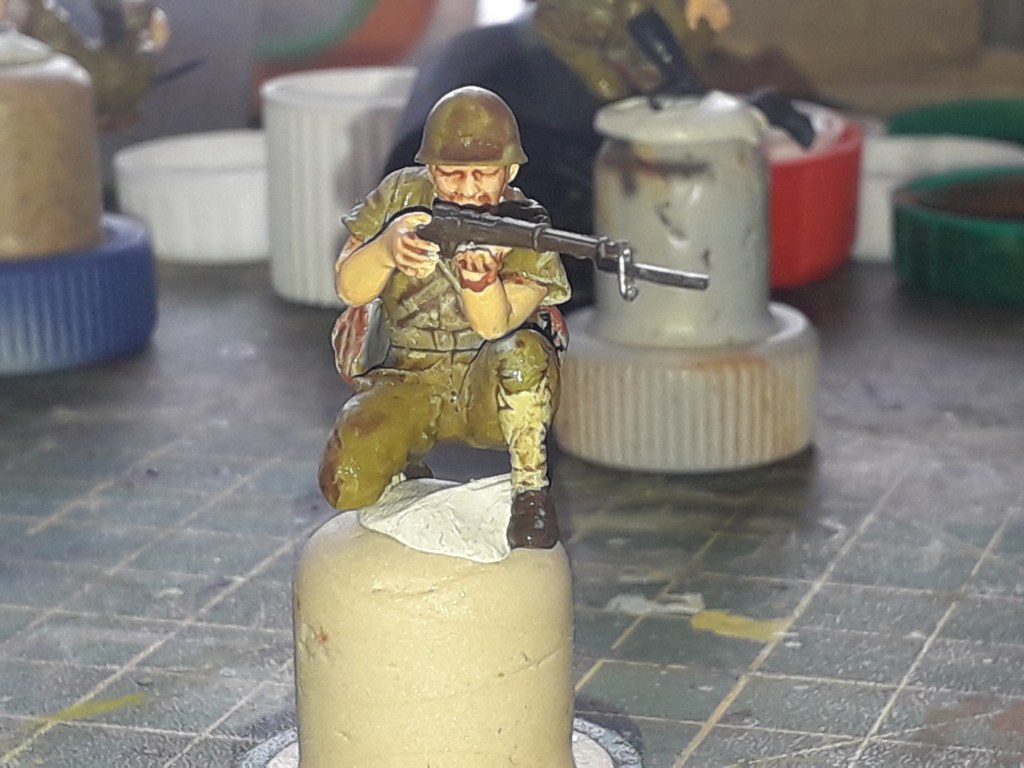
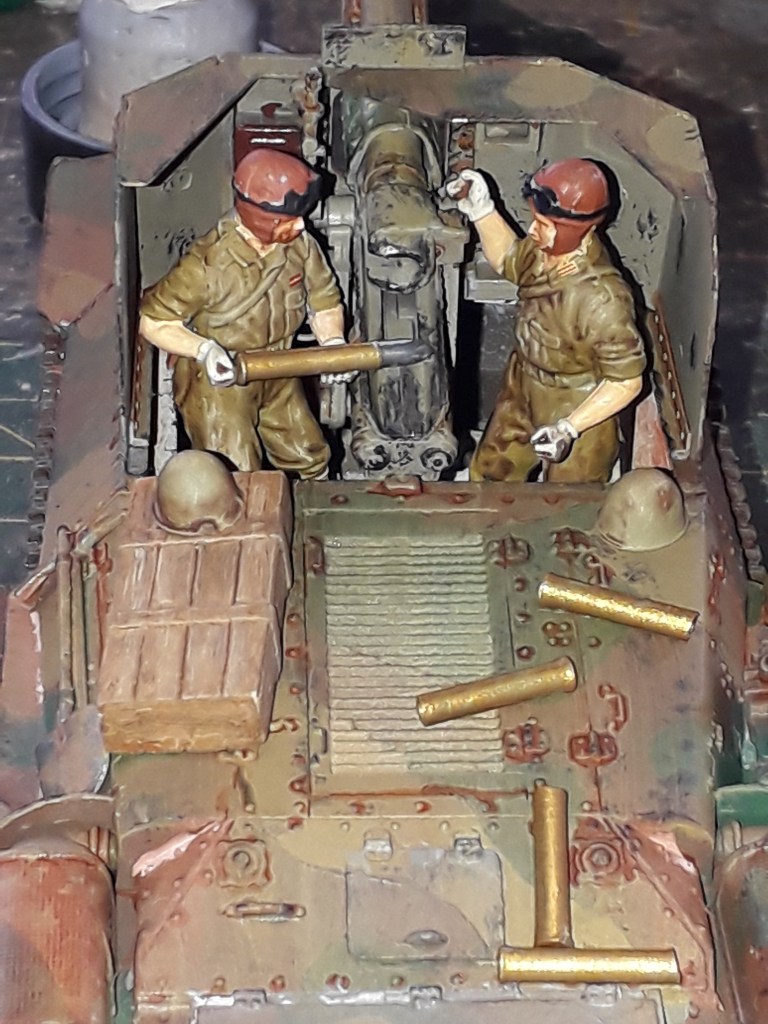
Next up were the figures, the kit came with 2 crew and 4 infantrymen. I didn’t overly enjoy building them, but the painting was pretty straight forward. I am not blessed with good painting skills, but I have a straight forward process which creates a good enough finish for 1/35.

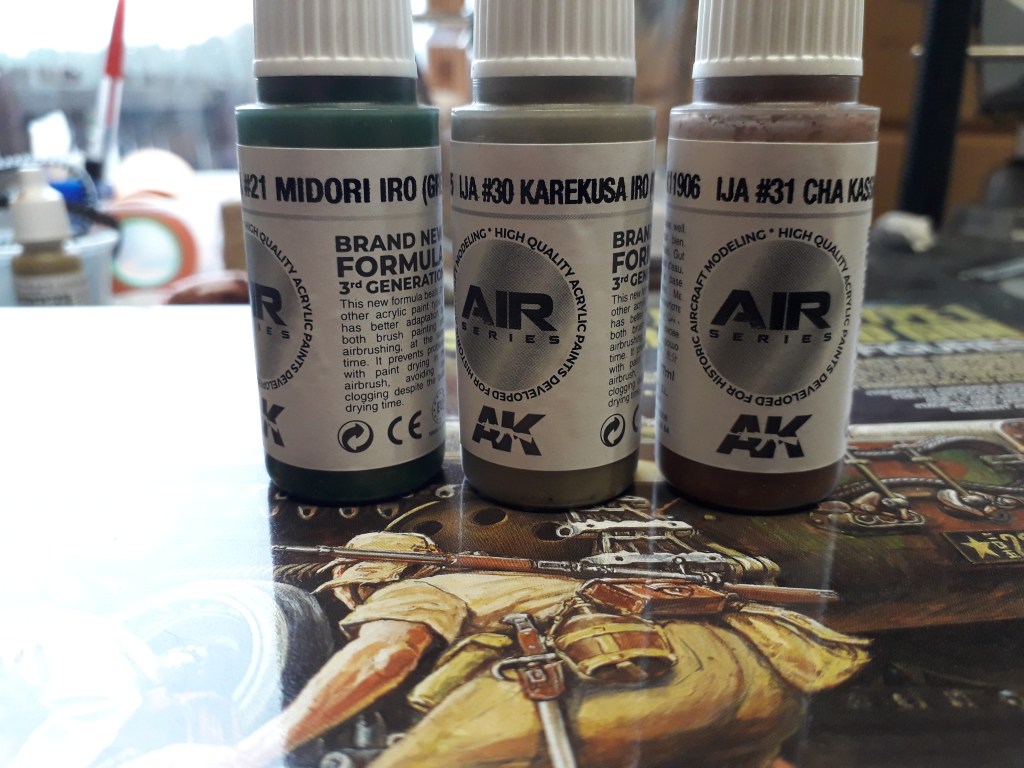
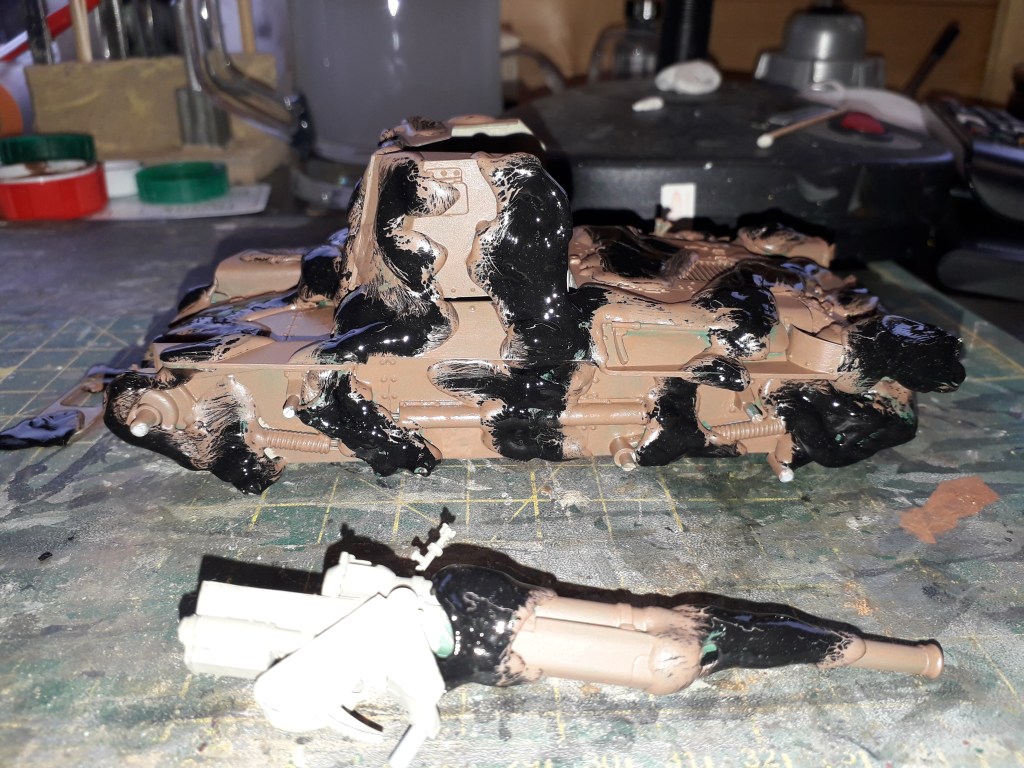
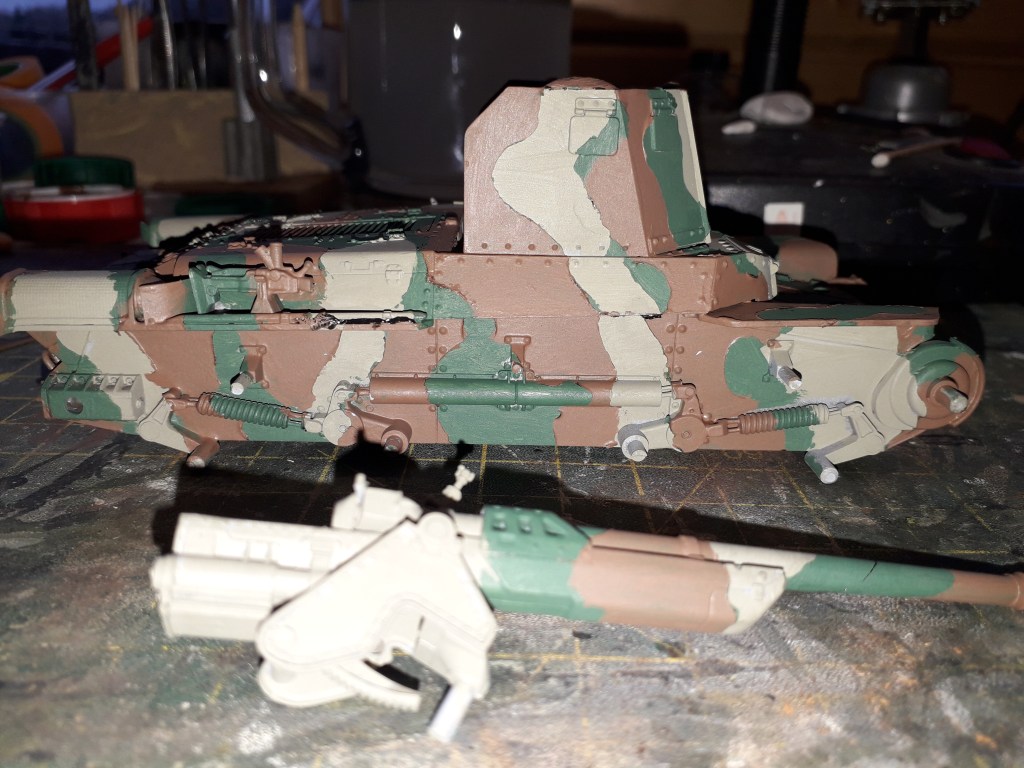
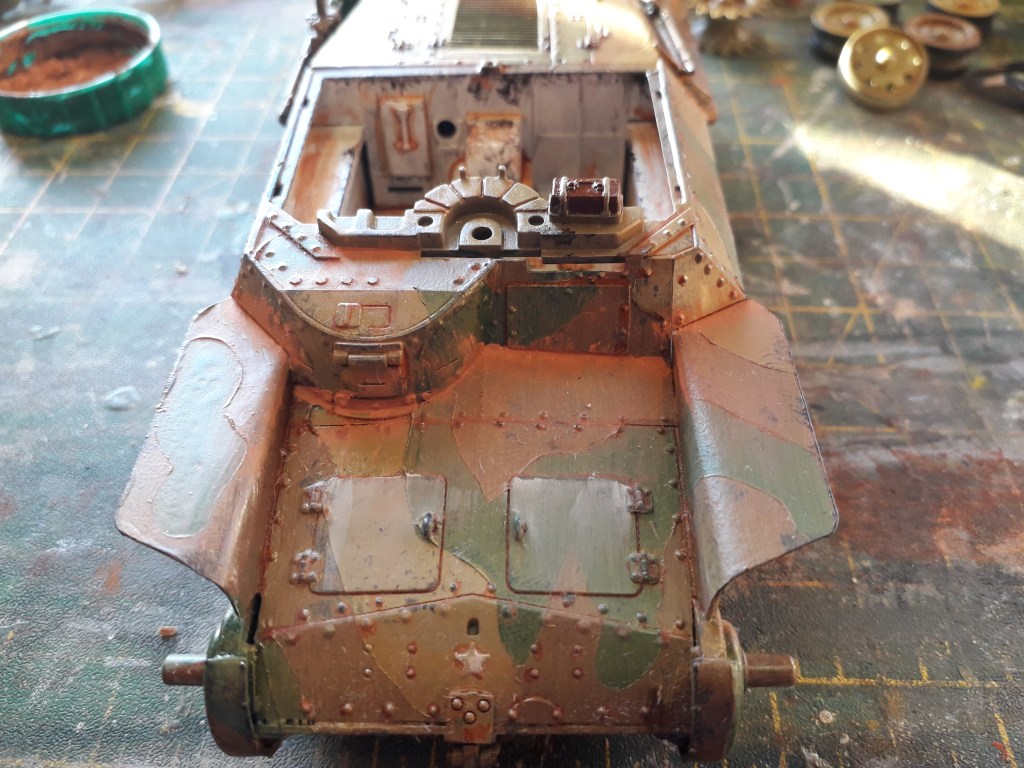
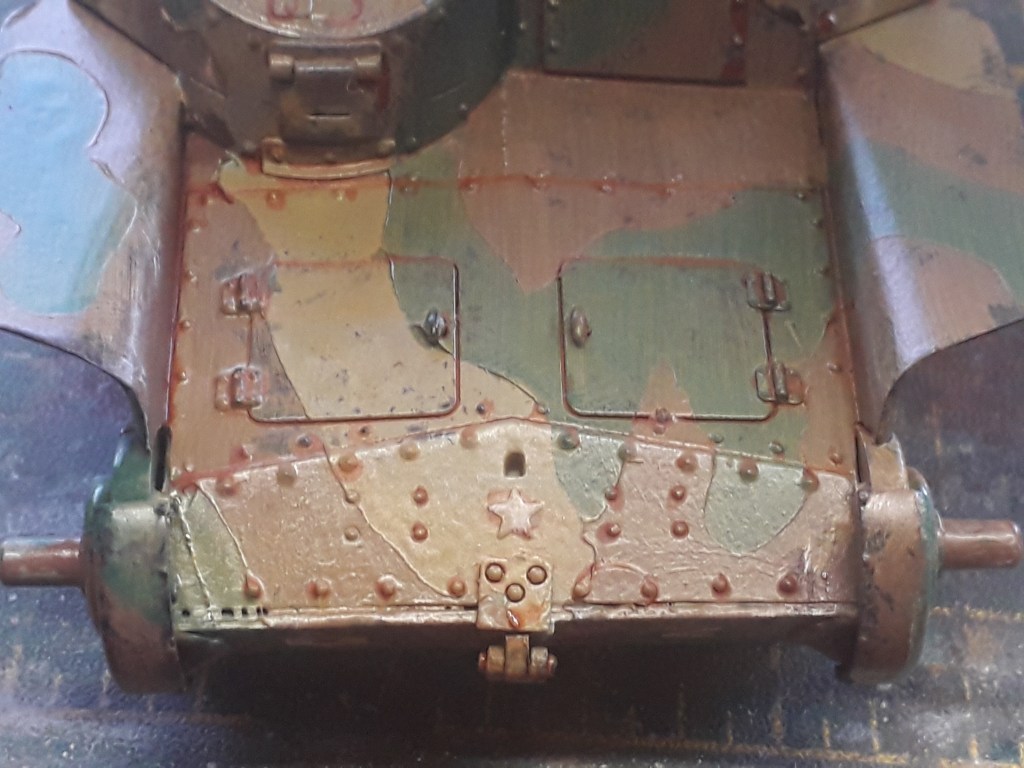
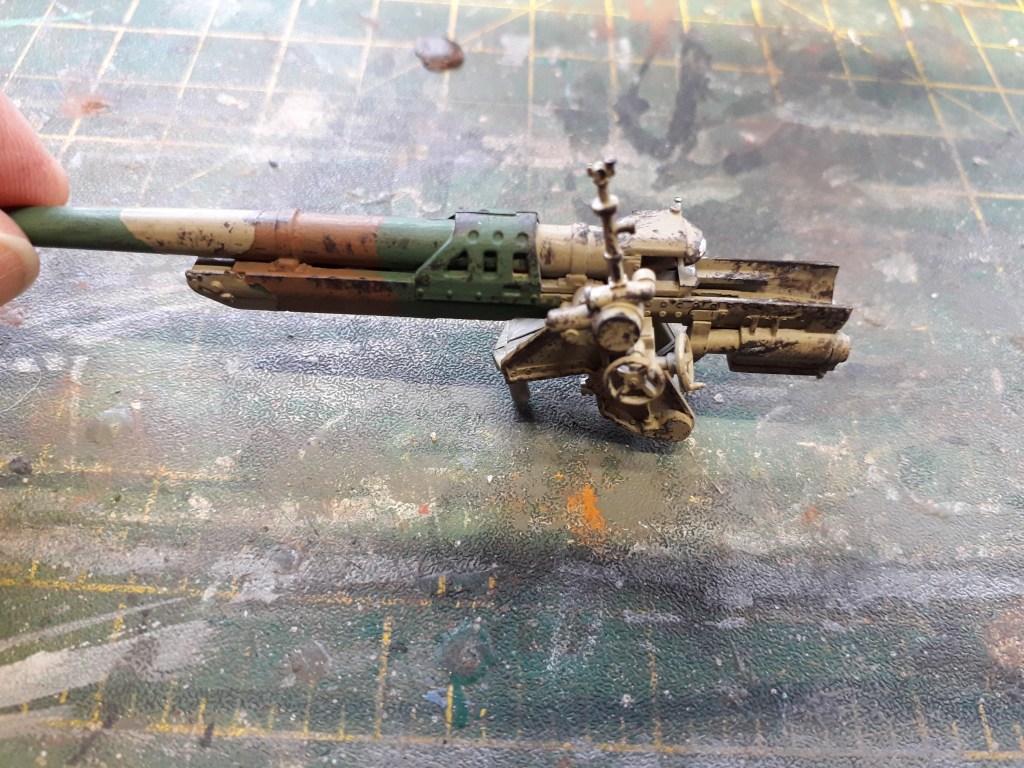
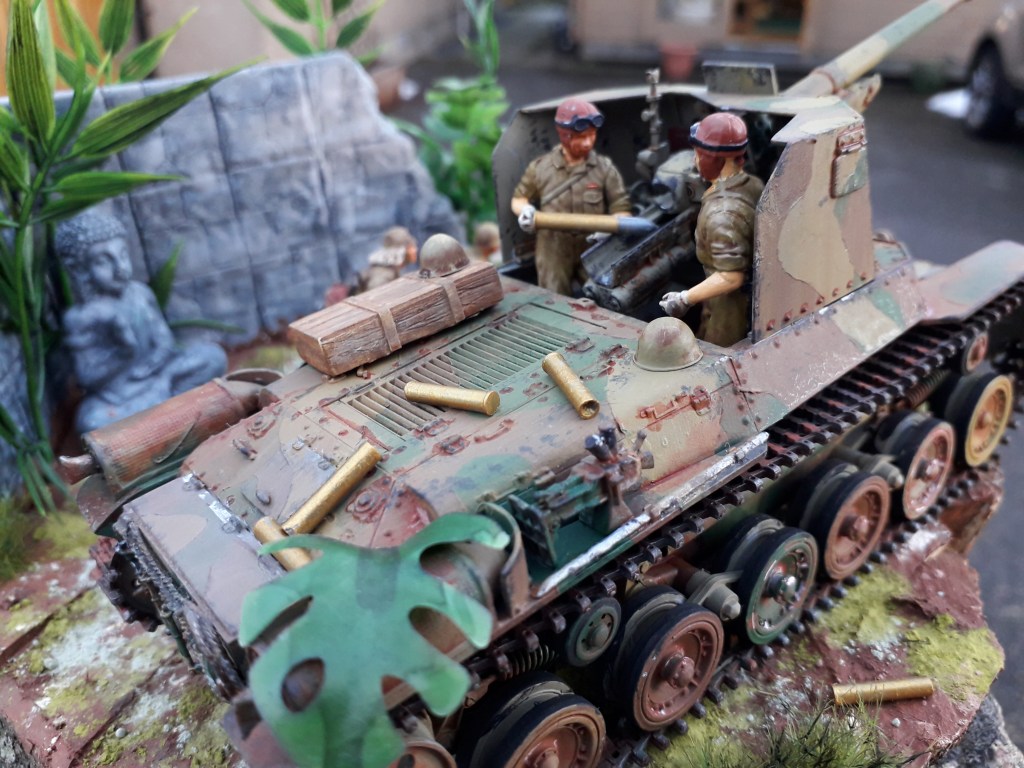
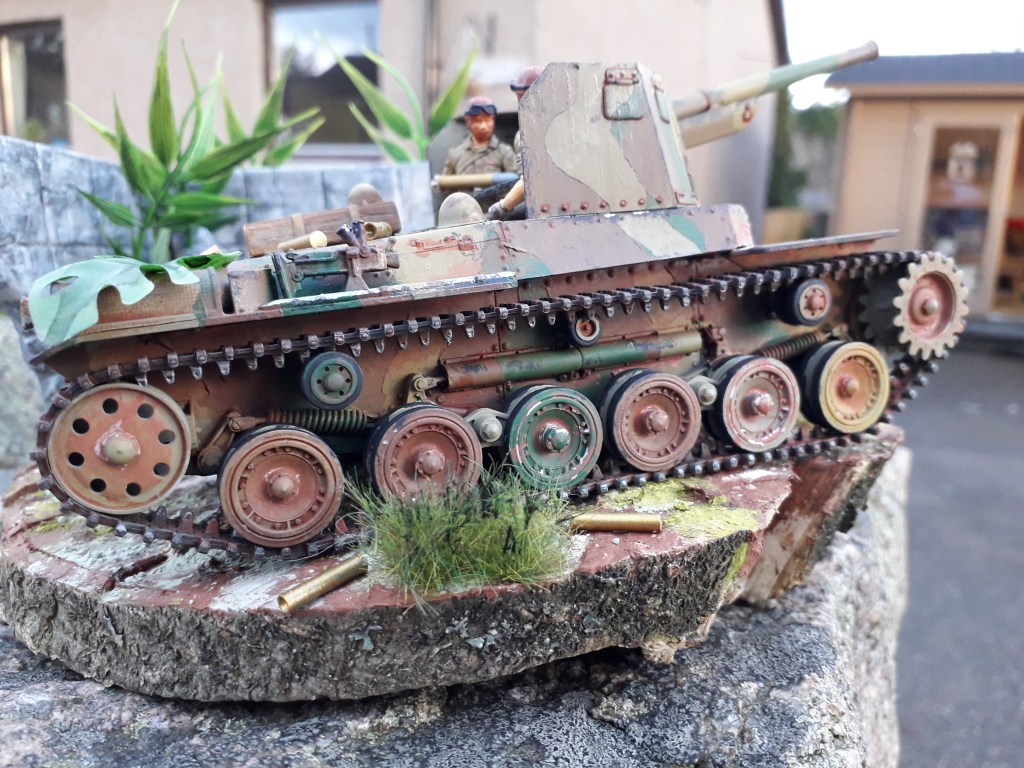
Finally the main event. For a kit that first appeared in 1977 it stands up very well to today’s hi-spec models. It went together like a dream, I can’t recall a single problem. The challenge was always going to be the 3 part camouflage. I hand paint, I just can’t get to grips with an air brush, which would make the job harder. Enter plastic putty. I have only just begun to get to grips with this stuff. Getting it quite thin, and sculpting curves with a tooth pick. As the camo would have been applied in-field there was no standard pattern to adhere to, which meant I couldn’t be wrong. I created the plastic putty shapes and allowed them to drape over and settle naturally over the hull. Moving from light to dark, the colours went on.

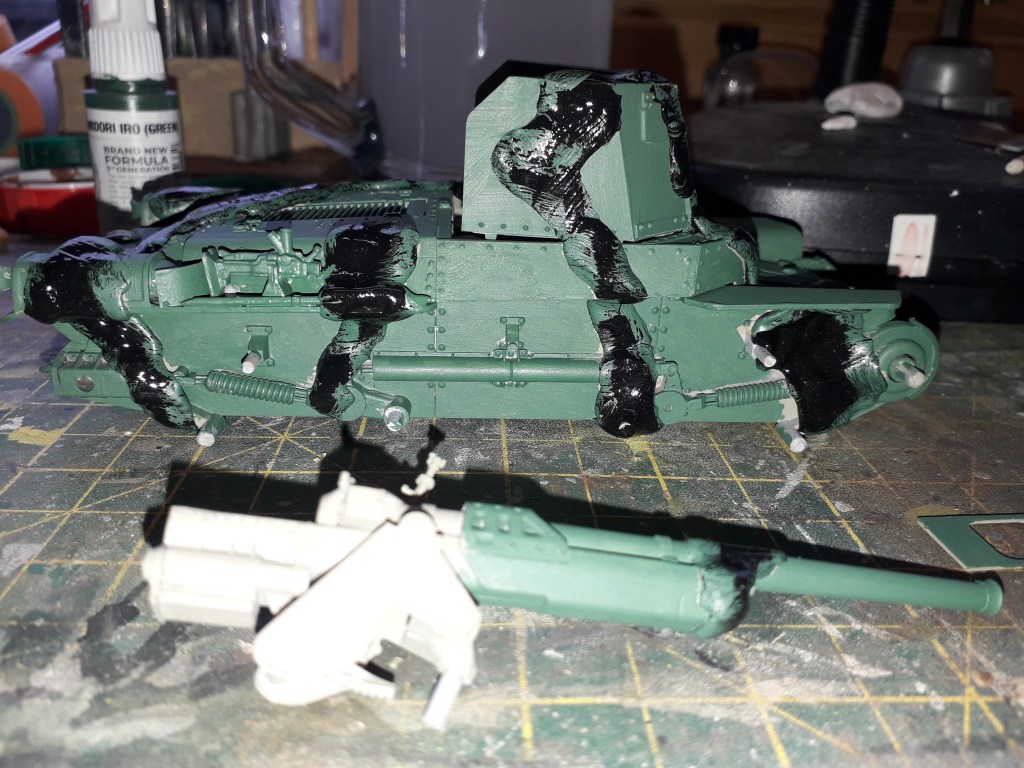
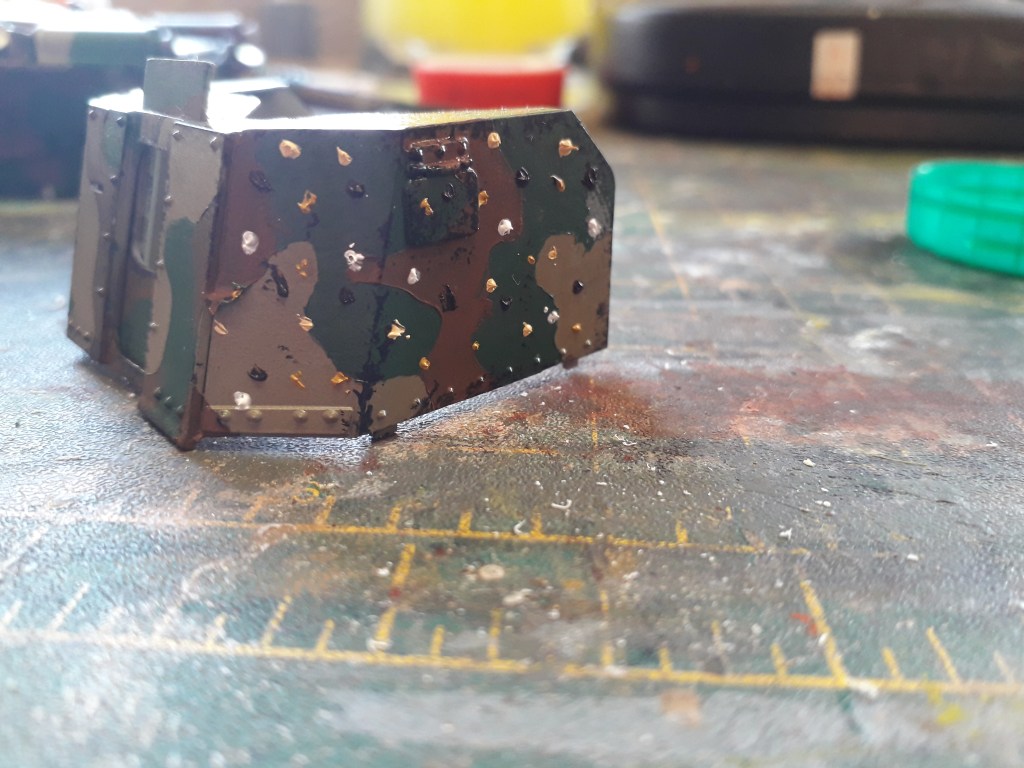
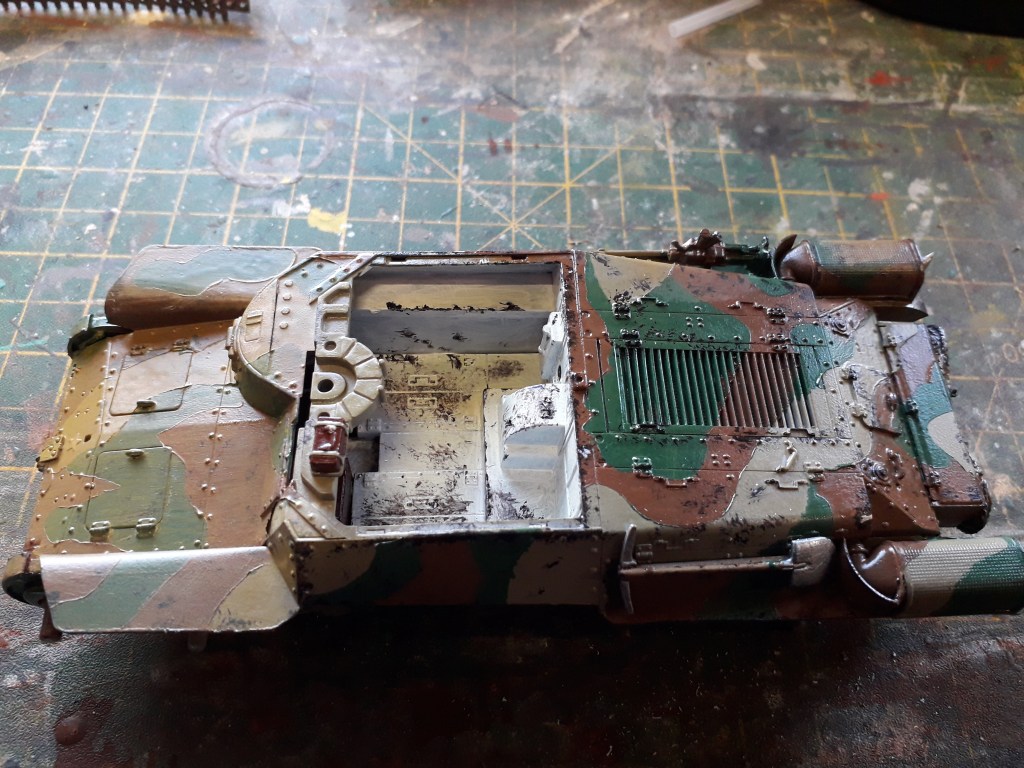
I can never remember the order in which weathering, chipping, panel lines and rusting should be applied. This is were the most important tool for the build comes to view, a very handy build guide for this exact kit. I know there are plenty of youtube videos out there showing you what to do, but I’m an old-fashioned builder. Reading instructions out to my father was where I started, so unless it is written down with an illustration that I can refer to many times I am not going to get it. The author is way more talented than me, but he explained things simply and I was able to get things done in the right order. The oil dot wash toned down the camouflage beautifully, almost blending in with the base it was going on. The whole point of camo.
I had been working on the little extras that put the detail into a diorama during the many curing lulls. This is where another online friend enters the story. John is an absolute wizard when it comes to stowage. He is able to turn a olive drab lump into a very interesting beast of burden using his own resin creations. He very kindly sent me a couple of packs of crates, rolls, and tarpaulins a couple of years ago. I felt that just the one piece would suffice. I enjoy creating wood effect, but I don’t always get it right.

I was not looking forward to fixing the tracks. There are 3 ways that tracks come in kit form. Old fashioned rubber band style, link and length plastic, and fully workable links. I dislike them all. The least worse option for me is rubber band. The instructions did suggest they could snap, which was not reassuring. As it was they went on as easy as pie, with enough slack to be able to create natural sag which is rare.
And then suddenly I am there, ready to assemble everything on the base. The danger with following a guide is that you end up making the other guy’s model. Trust me, this is extremely bad form. It creates nothing but a forgery of the original. There are similarities, I can’t deny that, but I am confident that there is sufficient deviation for my creation to be seen as mine alone.
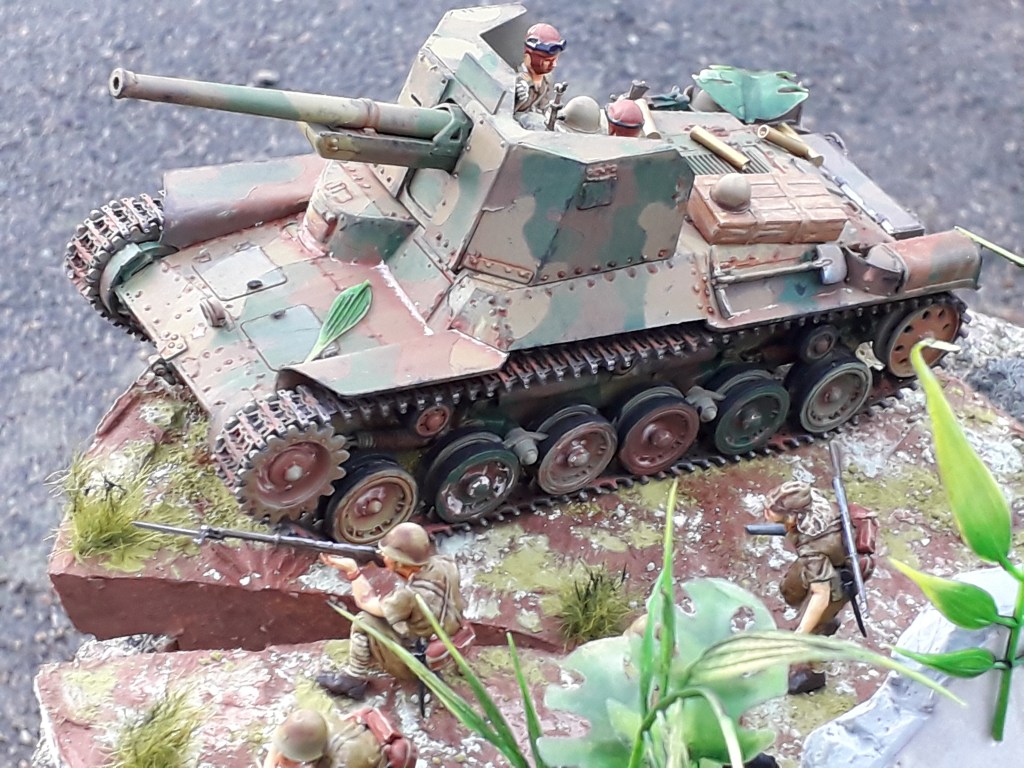

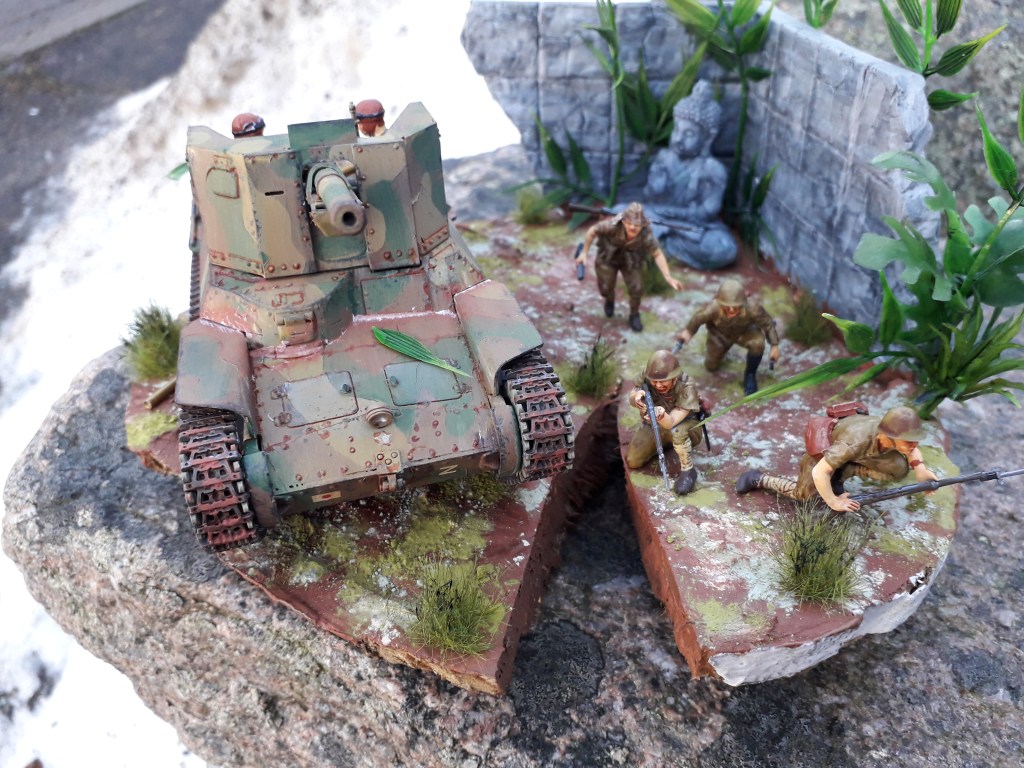
I am very pleased with how this all turned out. I really am making progress, this piece wouldn’t win prizes at a show, but I don’t think it would look out of place. More importantly I really enjoyed doing it. Big thanks to Andreas for sending this kit to me, I had not seen it in the UK before.
That’s build #1 of 2024 completed, a mere 4 more kits arrived into the shed of beer and plastic in the meantime. One day I will reduce the stash, but today is not that day.


Leave a comment